DESCRIZIONE PRODOTTO
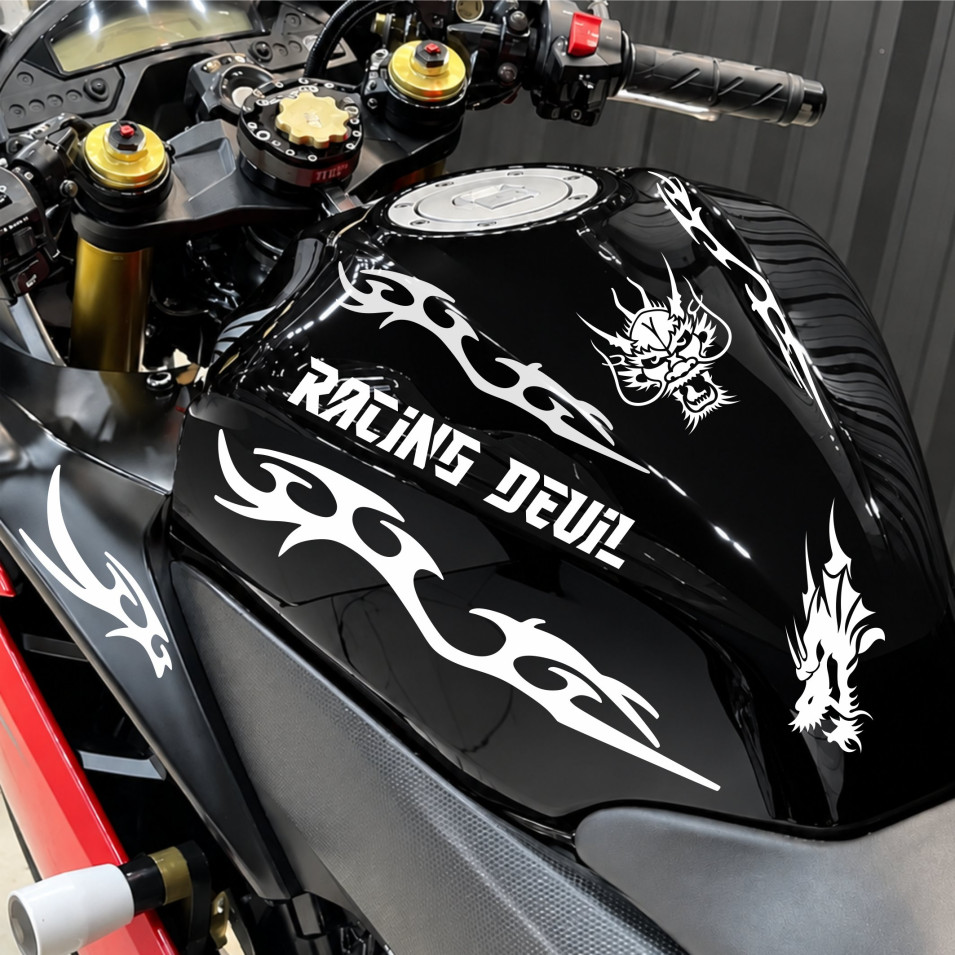
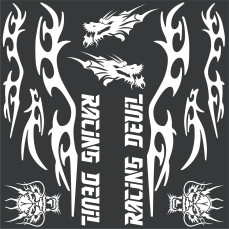
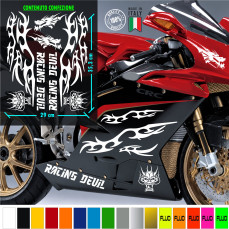
Dai alla tua moto un look grintoso con il kit decorativo Racing Devil: draghi, fiamme tribali e scritte sportive per personalizzare serbatoio e carene. Il set presenta elementi separati da disporre secondo il proprio stile. Disponibile in diverse colorazioni, comprese tonalità classiche e fluorescenti. Prima dell’acquisto, verifica le dimensioni indicate nelle immagini e la compatibilità con le superfici da decorare.
- LOOK RACING AGGRESSIVO – Trasforma la tua moto con un kit dal design sportivo, caratterizzato da draghi, fiamme tribali e scritte Racing Devil.
- DRAGHI DAL CARATTERE GRINTOSO – Grafiche accattivanti per dare personalità al serbatoio, alle carene e ad altre superfici compatibili.
- TANTI COLORI DISPONIBILI – Scegli la tonalità che preferisci, dai classici nero e blu alle vivaci colorazioni fluorescenti.
- KIT DECORATIVO COMPLETO – Composizione con diversi elementi grafici da distribuire sulla moto secondo il proprio gusto.
- STILE TRIBALE SPORTIVO – Fiamme dinamiche, draghi e scritte dal carattere deciso per un risultato originale e grintoso.
Ogni adesivo arriverà completo di application tape trasparente per facilitare al massimo l'applicazione. L'adesivo è intagliato senza fondo, ciò significa che la parte realmente adesiva è solo quella dell'adesivo stesso, non ha pellicole trasparenti attorno una volta applicato, resta solo l'adesivo colorato, senza bordi trasparenti. Materiale in vinile adesivo di altissima qualità verniciabile sotto lucido per i carrozzieri. Durata 5-7 anni se esposto sempre al sole, eterno per interno.
COME APPLICARE GLI ADESIVI
Fase 1
Pulire bene la superficie utilizzando possibilmente ALCOOL medico, NON USARE PRODOTTI GRASSI, COME SGRASSATORI O SIMILI perché lascerà un residuo grasso che impedirà all'adesivo di aderire bene
Fase 2
Preparare l'adesivo per l'applicazione strofinando saldamente una spatola o una carta di credito sulla carta trasparente. Questo rimuove eventuali bolle d'aria che possono essere formate durante il trasporto e rende l'adesivo aderente alla carta di trasferimento
Fase 3
Staccare la carta dietro l'adesivo LENTAMENTE. Se l'adesivo rimane aggrappato alla carta e non all'adesivo trasparente frontale, riattaccare lentamente il retro della carta e ripetere il passaggio 2 LENTAMENTE
Fase 4
Attaccare l'adesivo dove si vuole, su parte LISCIA e dopo essere stata pulita come indicato nella Fase 1.
Passare una spatola o carta di credito sull'adesivo per farlo aderire bene, attendere POSSIBILMENTE qualche ora che la colla asciughi bene e poi rimuovere lentamente il nastro di trasferimento trasparente da un angolo qualsiasi, LENTAMENTE. Fare attenzione a non portare via anche l'adesivo dalla superficie. Se l'adesivo rimane attaccato alla pellicola trasparente, riattaccarlo alla carrozzeria fare forte pressione e tornare a rimuovere la pellicola trasparente LENTAMENTE.
ENGLISH
PVC GLOSSY
Each sticker will come complete with transparent application tape to make application as easy as possible.The sticker is carved without a bottom, this means that the really adhesive part is only that of the sticker itself, it has no transparent film around it once applied, only the colored sticker remains, without transparent edges.Material in adhesive vinyl of the highest quality paintable under gloss for body shops. Duration 5-7 years if always exposed to the sun, eternal for indoors.
HOW TO APPLY THE STICKERS
Phase 1
Clean the surface well, possibly using medical ALCOHOL, DO NOT USE GREASY PRODUCTS, SUCH AS DEGREASERS OR SIMILARS because they will leave a greasy residue which will prevent the adhesive from adhering well
Phase 2
Prepare the decal for application by firmly rubbing a squeegee or credit card across the clear paper. This removes any air bubbles that may have formed in transit and makes the sticker stick to the transfer paper
Phase 3
Peel off the paper behind the sticker SLOWLY. If the adhesive sticks to the card and not the front clear adhesive, slowly reattach the back of the card and repeat step 2 SLOWLY
Stage 4
Stick the sticker where you want, on the SMOOTH part and after having been cleaned as indicated in Phase 1. Pass a squeegee or credit card over the sticker to make it adhere well, POSSIBLY wait a few hours for the glue to dry well and then slowly remove the transparent transfer tape from any corner, SLOWLY. Be careful not to take the adhesive off the surface as well. If the sticker remains attached to the transparent film, reattach it to the bodywork, apply strong pressure and remove the transparent film SLOWLY.